Circadian Lighting Placement: Optimize Lamp Height and Angle
23rd Mar•9 min read
Desk lamp lighting for visual impairment is not a one-size-fits-all choice. Whether you're managing age-related vision changes, macular degeneration, or simply need to optimize your workspace, the difference between a generic lamp and a precision lighting solution shows up in reading speed, color accuracy, eye fatigue, and (critically) whether you trust what you see the first time. Low vision lighting solutions that combine measured illuminance, spectrum fidelity, and beam geometry are the foundation of a workspace that actually works.
This guide cuts through marketing claims and maps the technical reality of lamps to your specific workflow.
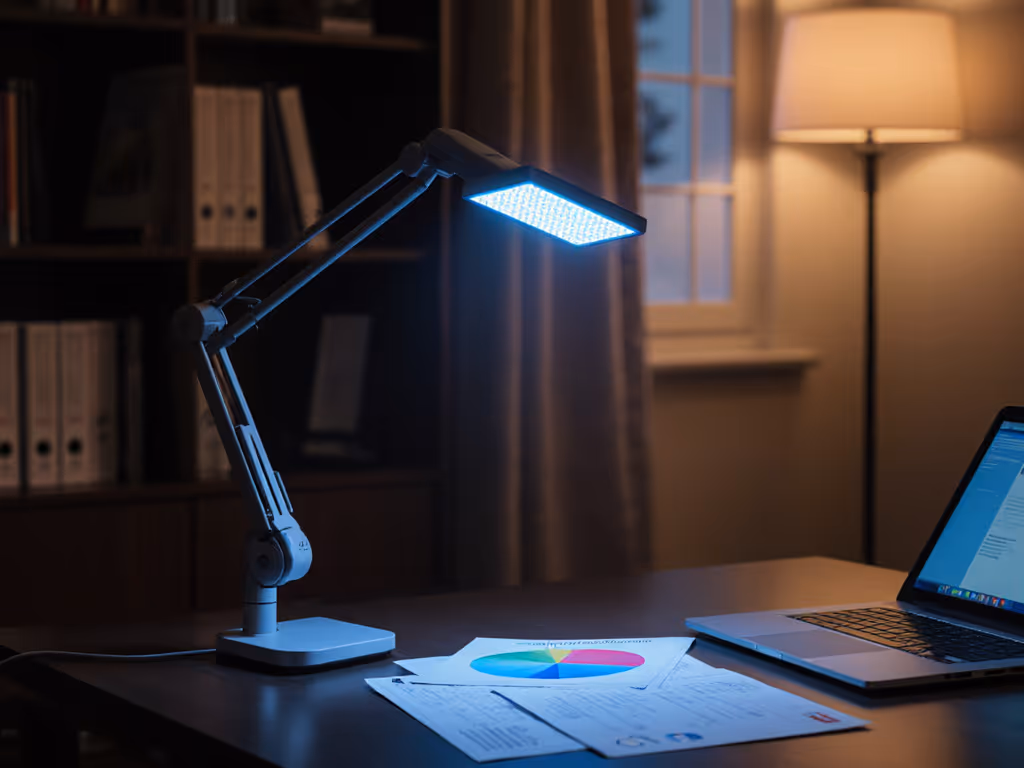
People with visual impairments need approximately four times the amount of light to read and perform near tasks compared to those with typical vision.[4] This is not opinion, it's a documented principle that shapes every practical recommendation. However, more light alone isn't enough. A 5,000-lumen bare LED at 12 inches away creates glare and shadows as much as it illuminates. The target is usable illuminance at the actual work plane, measured in lux, with even distribution.
For routine desk work (email, documents, screen-based tasks) aim for 300-500 lux. For step-by-step targets and measurement tips, see our 500 lux guide. For detailed reading, drafting, or craft work, 750-1,000+ lux is standard. The critical phrase: measure at your desk distance with a meter, not at the manufacturer's ideal 12-inch lab setup. A 27-watt lamp claiming 1,300 lumens may deliver that brightness in a beam cone, but if your desk surface only intercepts half of it, or if shadows dominate, you're working in darkness.[1]
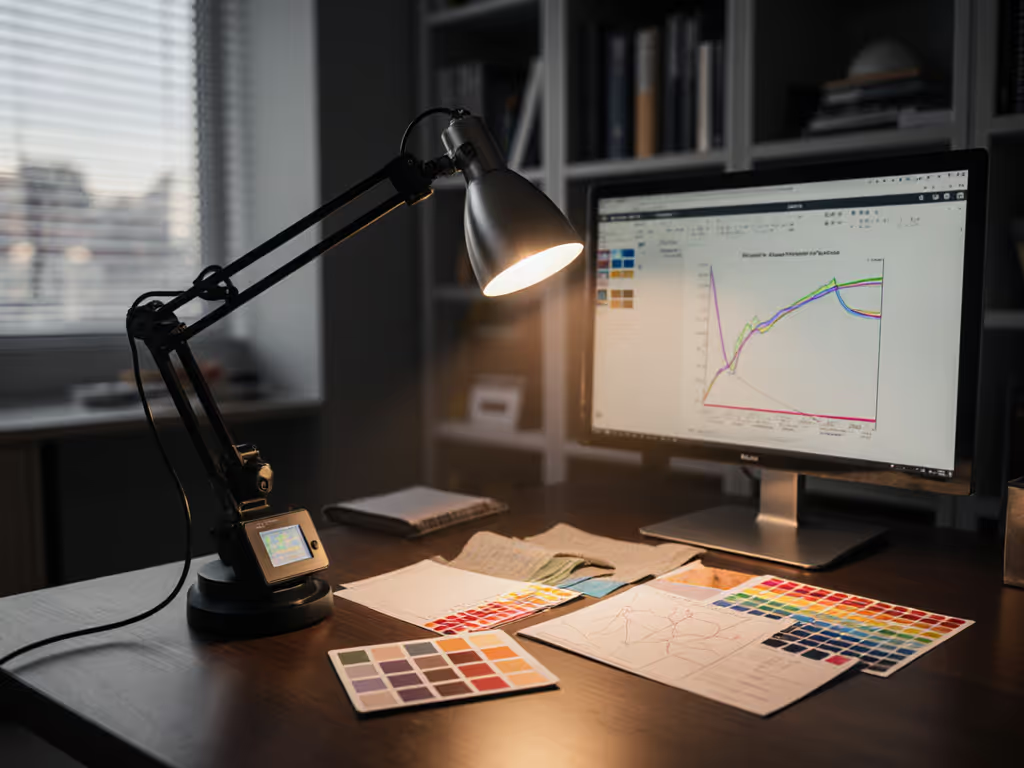
Color Rendering Index (CRI) tells you how accurately a lamp displays color compared to a reference daylight or incandescent source. A CRI of 90+ is the threshold for color-critical work, including art direction, photo retouching, material selection, and even skin-tone judgment on video calls. But CRI is an average across eight standard test colors. The problem: it can mask a catastrophic failure in one hue.
R9 is the CRI score for saturated red. A lamp with CRI 95 but R9 below 50 will render reds as muddy, orange-shifted, or dimmed. I learned this the hard way: a red jacket looked perfect under my old cool-LED task lamp at home (vivid, rich). Under studio daylight, it was flat and lifeless. Measuring showed a spiky spectrum with R9 of 32. After switching to a high-CRI, stable broad-spectrum arm with even spread across red wavelengths, my proofs matched the morning sun. Fewer re-shoots, fewer edits, and more trust in what I see. Trust R9 for reds. For anyone doing color work (whether retouch, styling, or craft) R9 above 90 is the non-negotiable floor. Look for lamps rated CRI 95+ and R9 95+, not just one.[2] For a deeper breakdown of TM-30, CRI, and R9 in desk lamps, read our spectrum quality guide.
Color work needs CRI, R9, and beam consistency across space.
A broad-spectrum lamp that mimics natural sunlight has stable spectral output across its beam, meaning colors stay true whether light hits the left or right edge of your document.[1] A lamp with a spiky, uneven spectrum, or one that concentrates energy in a narrow hot spot, which creates visual inconsistency that forces constant repositioning and erodes confidence in your color judgment.
Beam consistency is especially important if you work with contrast-enhancing task lighting strategies. Halogen lamps, for example, are praised for bright, white illumination and excellent contrast, but only if the beam is shaped by the lamp shade into directed light rather than scattered spill.[4] Asymmetrical beams (light directed down and forward, avoiding your monitor) are superior to omnidirectional sources because they reduce glare and let you perceive true contrast on screens and documents.
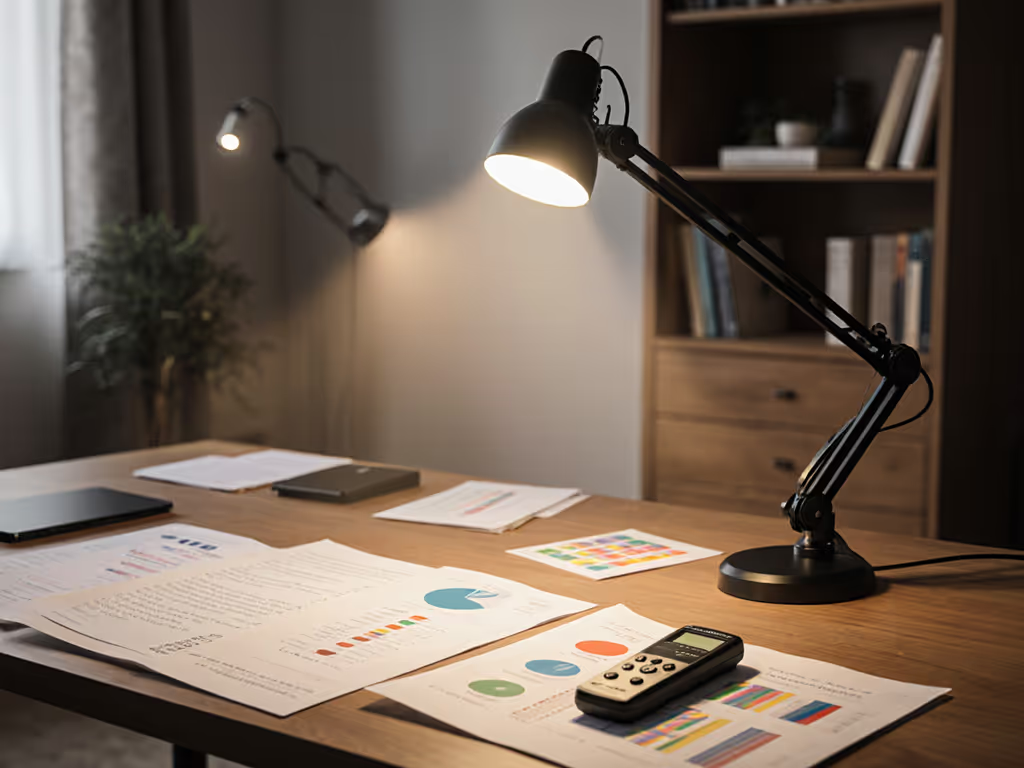
Placement is not intuitive and varies by task. For reading, position task lighting to center over the stronger eye (for example, if your right eye is stronger, aim light over the right side of the page). This maximizes the visual field of your better-performing eye.[2]
For writing, reverse the logic: center the light on the opposite side of your writing hand. If you write with your left hand, position the lamp on your right side. This prevents your hand shadow from obscuring the work surface.[2]
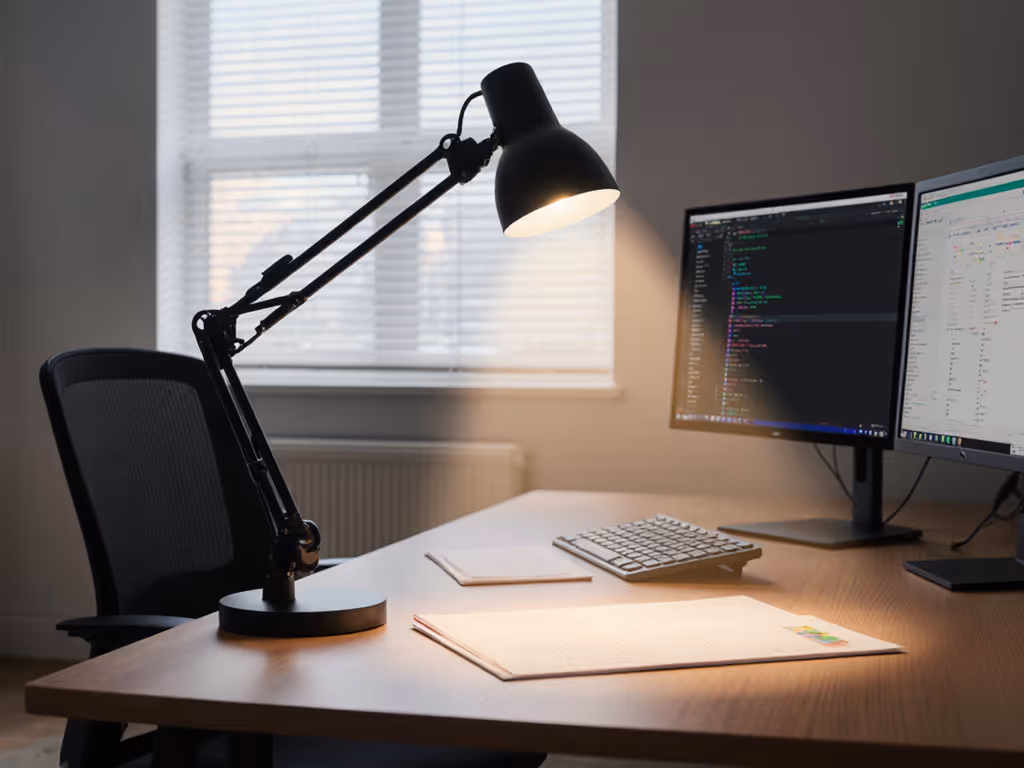
In both cases, the lamp should have an adjustable arm with stable joints: flexible necks that drift or sag will force micro-adjustments throughout your session, compounding eye strain. A 22-inch adjustable swing arm with a U-shaped handle lets you dial in the exact angle without touching hot surfaces and without interrupting your workflow.[4] For the science behind optimal lamp height and angle, see our placement science guide.
Each has a role:
For most precision work, high-CRI LED with R9 strength and fine-grained dimming is the gold standard. Compare LED, halogen, and other sources in our bulb technologies comparison. You gain spectrum-first analysis capabilities (the ability to dial warmth up at night or cool down for critical color work) without sacrificing safety or energy efficiency.[7]
Macular degeneration affects central vision, often forcing reliance on peripheral vision. Uniform, even illumination across a broader area, rather than a tight hot spot, helps users scan text and images more naturally. A lamp with a wide, diffused beam and strong but shadowless coverage is preferable. Amplified lighting for visual impairment in this context means sufficient lux at distance (not just at 12 inches) and even distribution to minimize dead zones. A long desk lamp with an extended arm lets you position the source away from your direct line of sight while still flooding the work plane.[4]
Halogen and LED both excel here, but halogen's inherent brightness makes it a popular choice for users who need maximum intensity without multipoint switching. For condition-specific setup, see our macular degeneration lighting guide.
Desk lamp lighting for low vision is a spectrum-first decision. Adequate lux prevents fatigue; high CRI and strong R9 ensure color truth; even beam consistency across your work plane eliminates guesswork and rework. Placement tailored to your eye strength and task (reading versus writing) compounds these gains. When illuminance, spectrum, and geometry align with your workflow, the payoff is measurable: faster reading, fewer color judgment errors, longer comfortable sessions, and the quiet confidence that what you see is what's true.
The next step is to audit your current desk setup. Measure your lux at task distance. Note any color rendering gaps (do reds look muted?). Identify beam inconsistencies or shadows. Then cross-reference those findings with lamps that offer high-CRI LEDs, R9 ratings, and adjustable arms rated for your desk space. Third-party lighting standards (IES, TM-30) and user reports from color-critical professionals can guide your choice far better than generic star ratings.
Your desk is your performance environment. Lighting is a tool that earns its place through measurable relief and clarity, not marketing polish.